Locking and Unlocking Attachments
Seamless, One-Click Editing with Edit in App
With Confluence 6.11+, the Edit in App feature allows users to directly edit any attachment type with any browser. Lockpoint is fully integrated with Edit in App, and attachments are automatically locked and unlocked while users edit them. Manually clicking the Lock to Edit and Unlock buttons is not required.
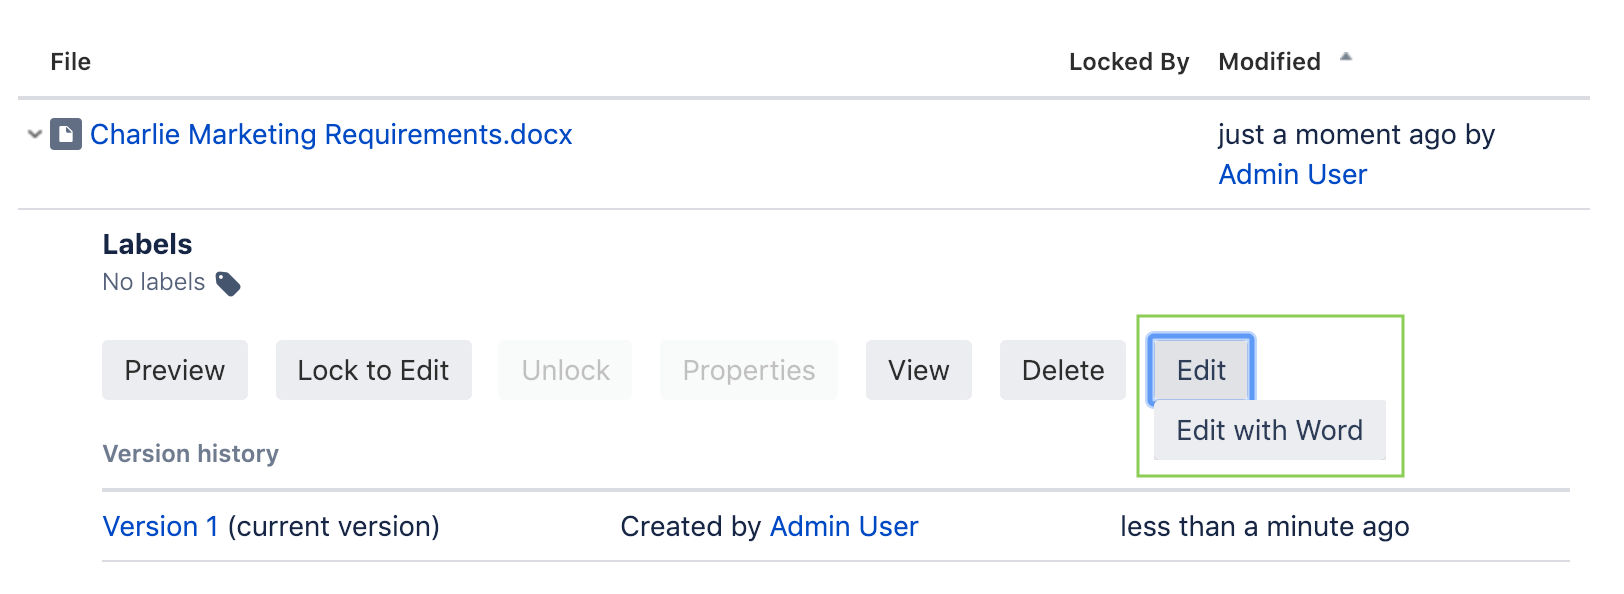
In Confluence 6.14+, the Edit in App feature is available from all locations in the system, including the Attachments macro, from the various Office view-file macros, the Attachments page and the previewer. To edit an attachment from these locations, click the Edit button and then select the name of the desktop application from the dropdown. Lockpoint will automatically lock the attachment when it is opened. The "Locked By" column in the Attachment macro will also be updated while the file is locked.
For Confluence 6.11 - 6.13, the Edit in App feature is available only in the Confluence Previewer. To edit a document, click the Preview button from the Attachments macro to activate the previewer, and then click the Edit with dropdown to activate the Edit in App feature. Lockpoint will be engaged automatically.
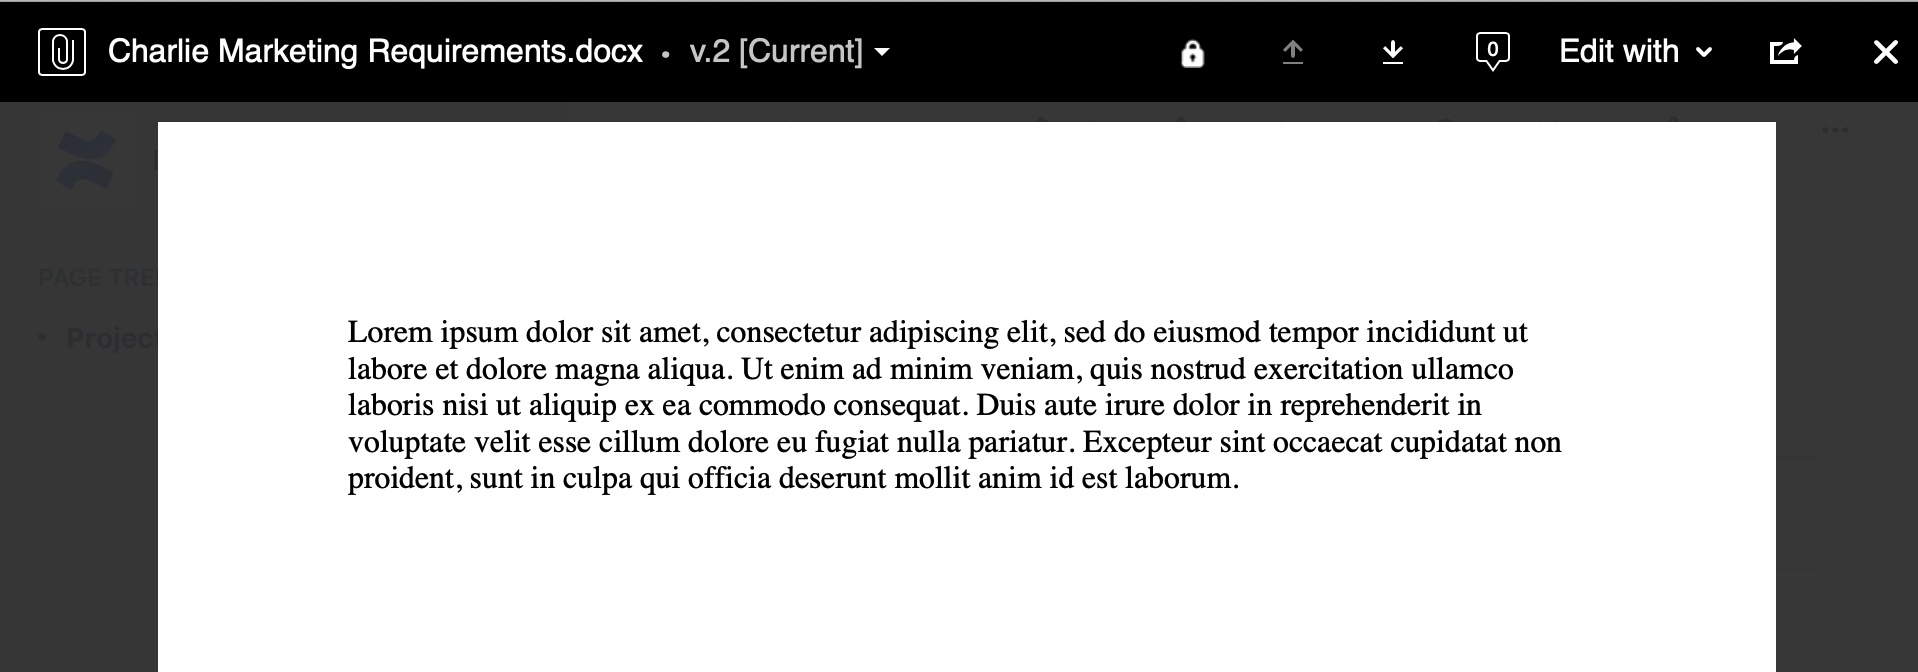
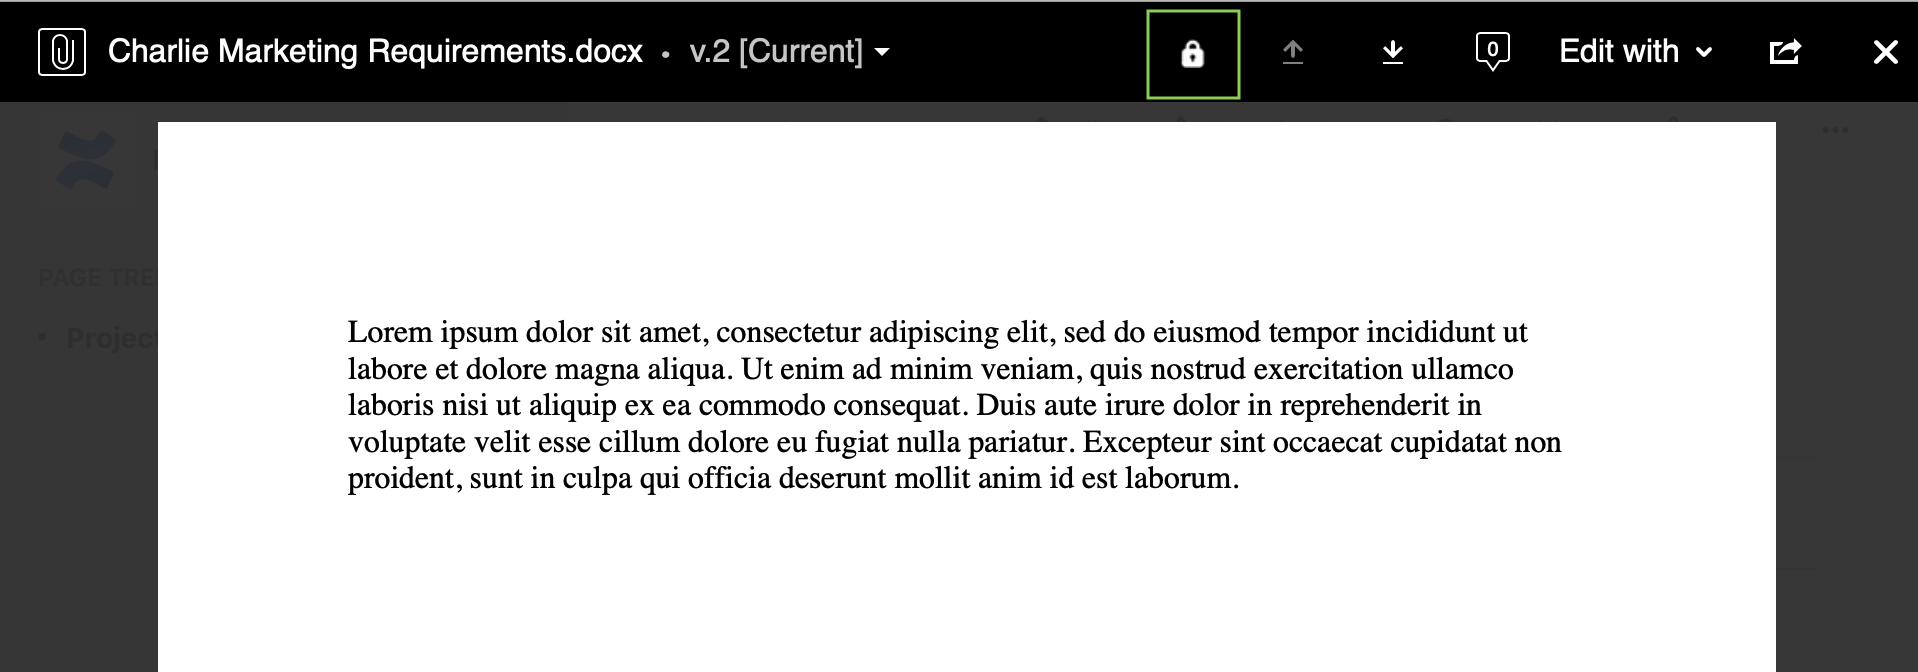
After launching documents from the previewer, the Lockpoint icon will display in the action bar next to the filename, showing that the attachment has been automatically protected.
Seamless, One-Click Editing with Edit in Office
With Confluence 6.10 and below, when using the Edit in Office button with a supported Office application, Lockpoint also automatically locks the attachment when it is opened, and the attachment is unlocked when it is saved back to Confluence. The attachment is automatically protected and manually clicking the Lock to Edit or Unlock buttons is not required.
Additionally, when Confluence is mounted as a WebDAV share, attachment locking is also performed automatically by compatible WebDAV clients (such as Microsoft Office). Any time a user opens a file using a compatible client, Lockpoint will automatically lock the attachment. When the document is saved, the attachment will be unlocked again.
Manual Locking
When viewing a page containing the Attachments macro, Confluence will display Lock to Edit and Unlock buttons after clicking to expand an attachment. Additionally, Lockpoint will display corresponding links next to attachments on the Tools » Attachments page.
After clicking Lock to Edit, the document is protected. A user can edit or modify the attachment properties and then upload a new version of the attachment back into Confluence through drag-and-drop, the editor, or anywhere else that attachments can be modified. The green Lockpoint icon will also appear next to the attachment, and the user can hover the mouse over the lock icon in order to see more information about the lock. When the user is finished, the Unlock button makes the document available again for other users.
Note that the attachment Properties button is only available while the attachment is locked. To edit an attachment's properties while using Lockpoint (such as to change the name, description, or move it to another page), click the Lock to Edit button, click Properties, and then Unlock when done.
If an attachment is locked by another user, or if an attachment is not locked at all, the user will be unable to upload a new version of that attachment or edit the properties. Users who have Lockpoint Administrator privileges in a space will be able to unlock attachments that are locked by other users. Additionally, Lockpoint Administrators will see a Force Unlock button.
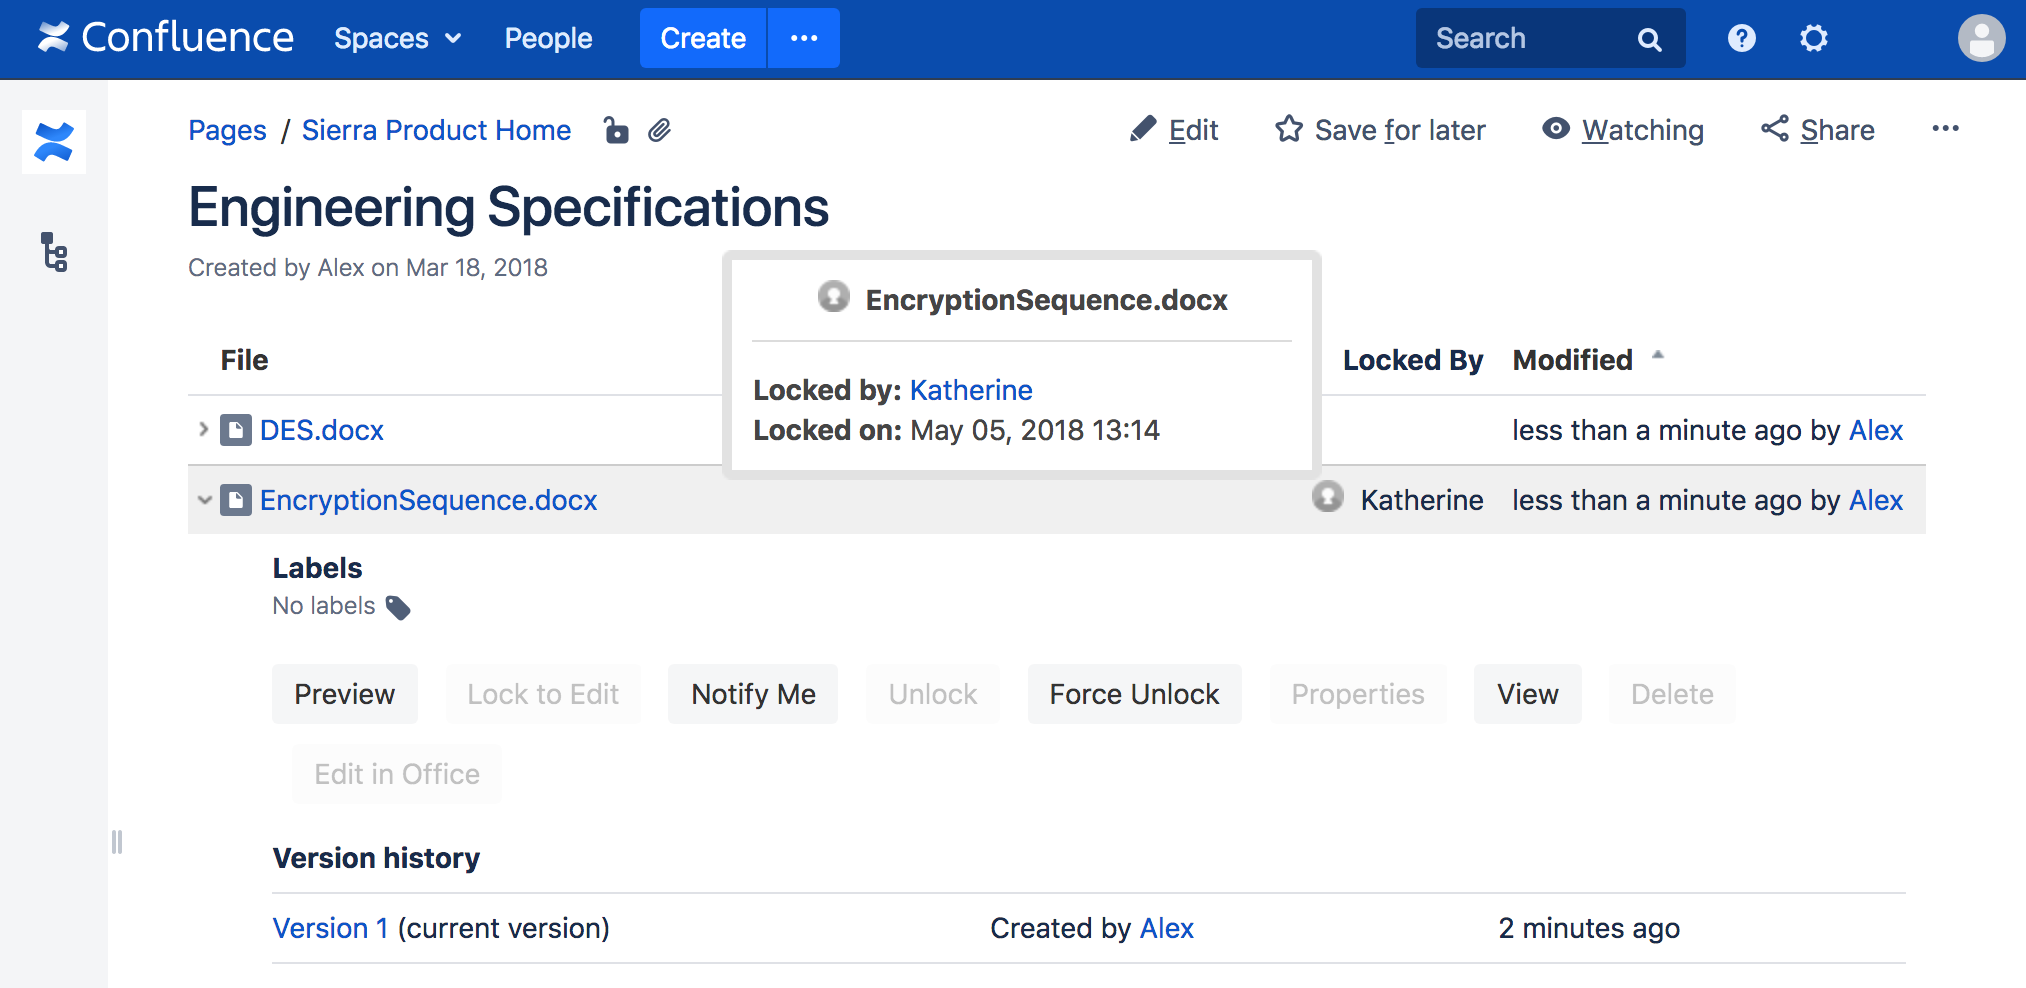
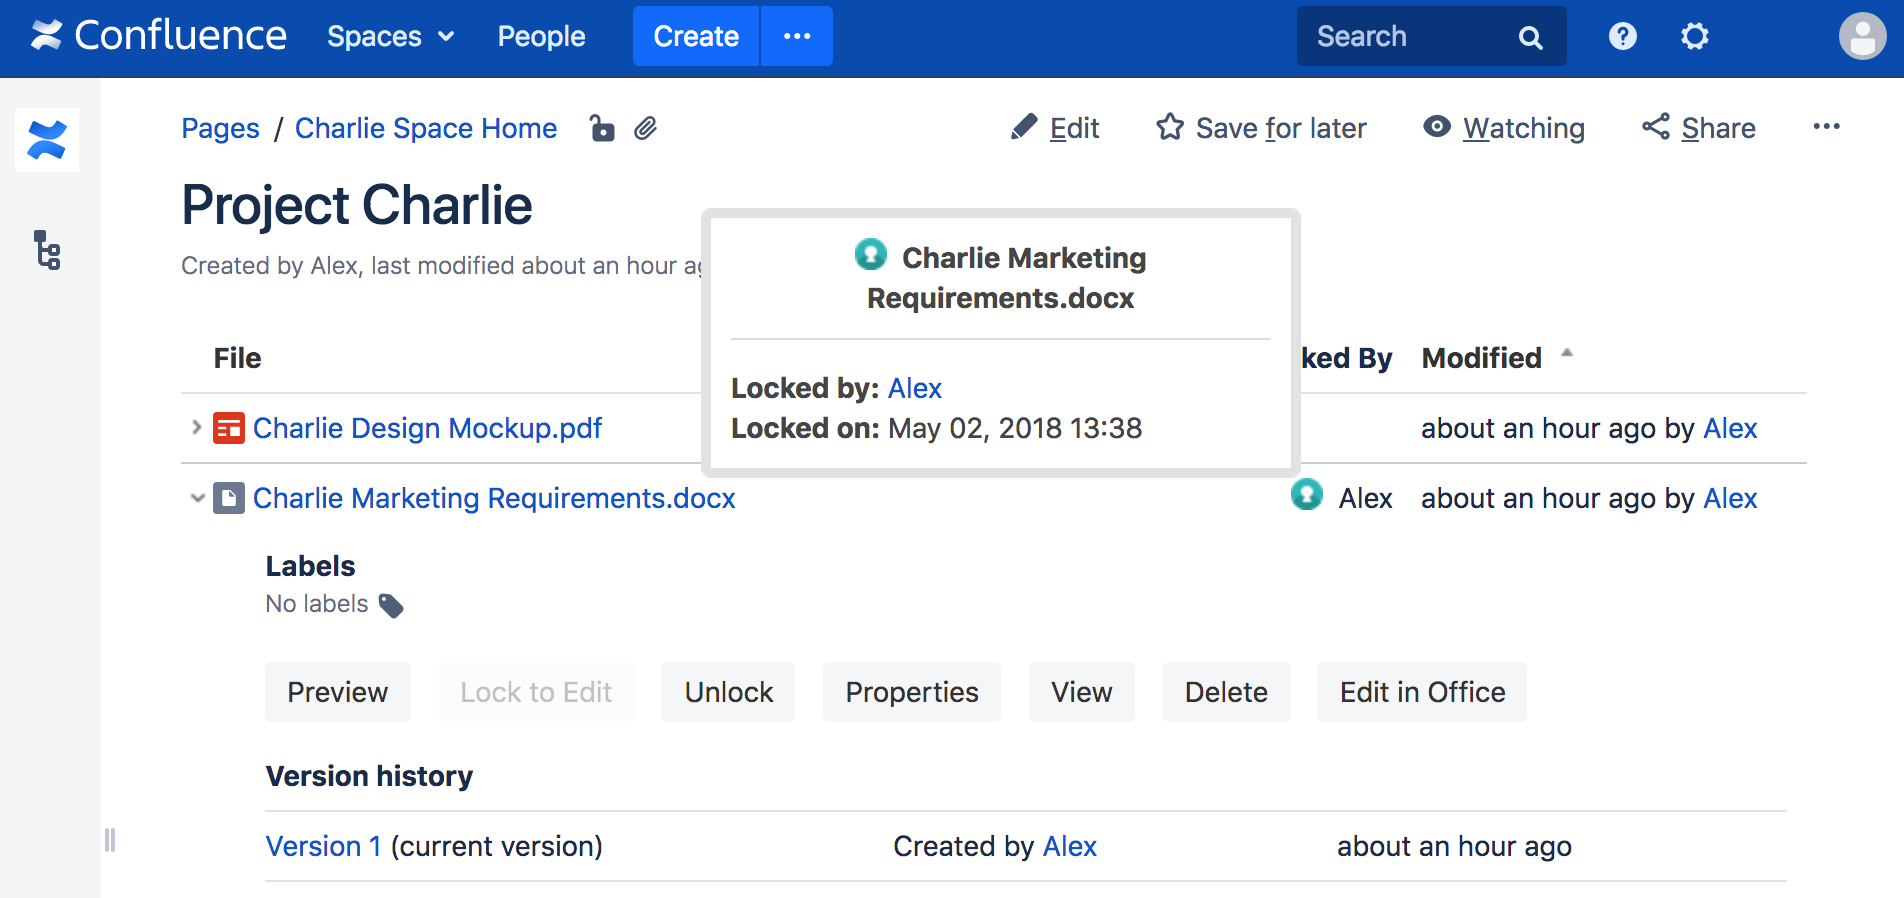
For already-locked attachments, Confluence will display a lock icon next to the filename. The current user's locks are shown with a stylized green lock icon, while files locked by any other user are shown with a gray lock icon. If the user places the mouse pointer over a lock icon, Lockpoint will display a tooltip containing the name of the attachment, the name of the user who owns the lock, and the date that the file was locked. The user can also click on the name of the attachment owner to send an email to him or her.
For information on editing Gliffy diagrams with Lockpoint, see the section on Integration With Gliffy and Balsamiq Wireframes.
Bulk Locking and Unlocking of All Attachments
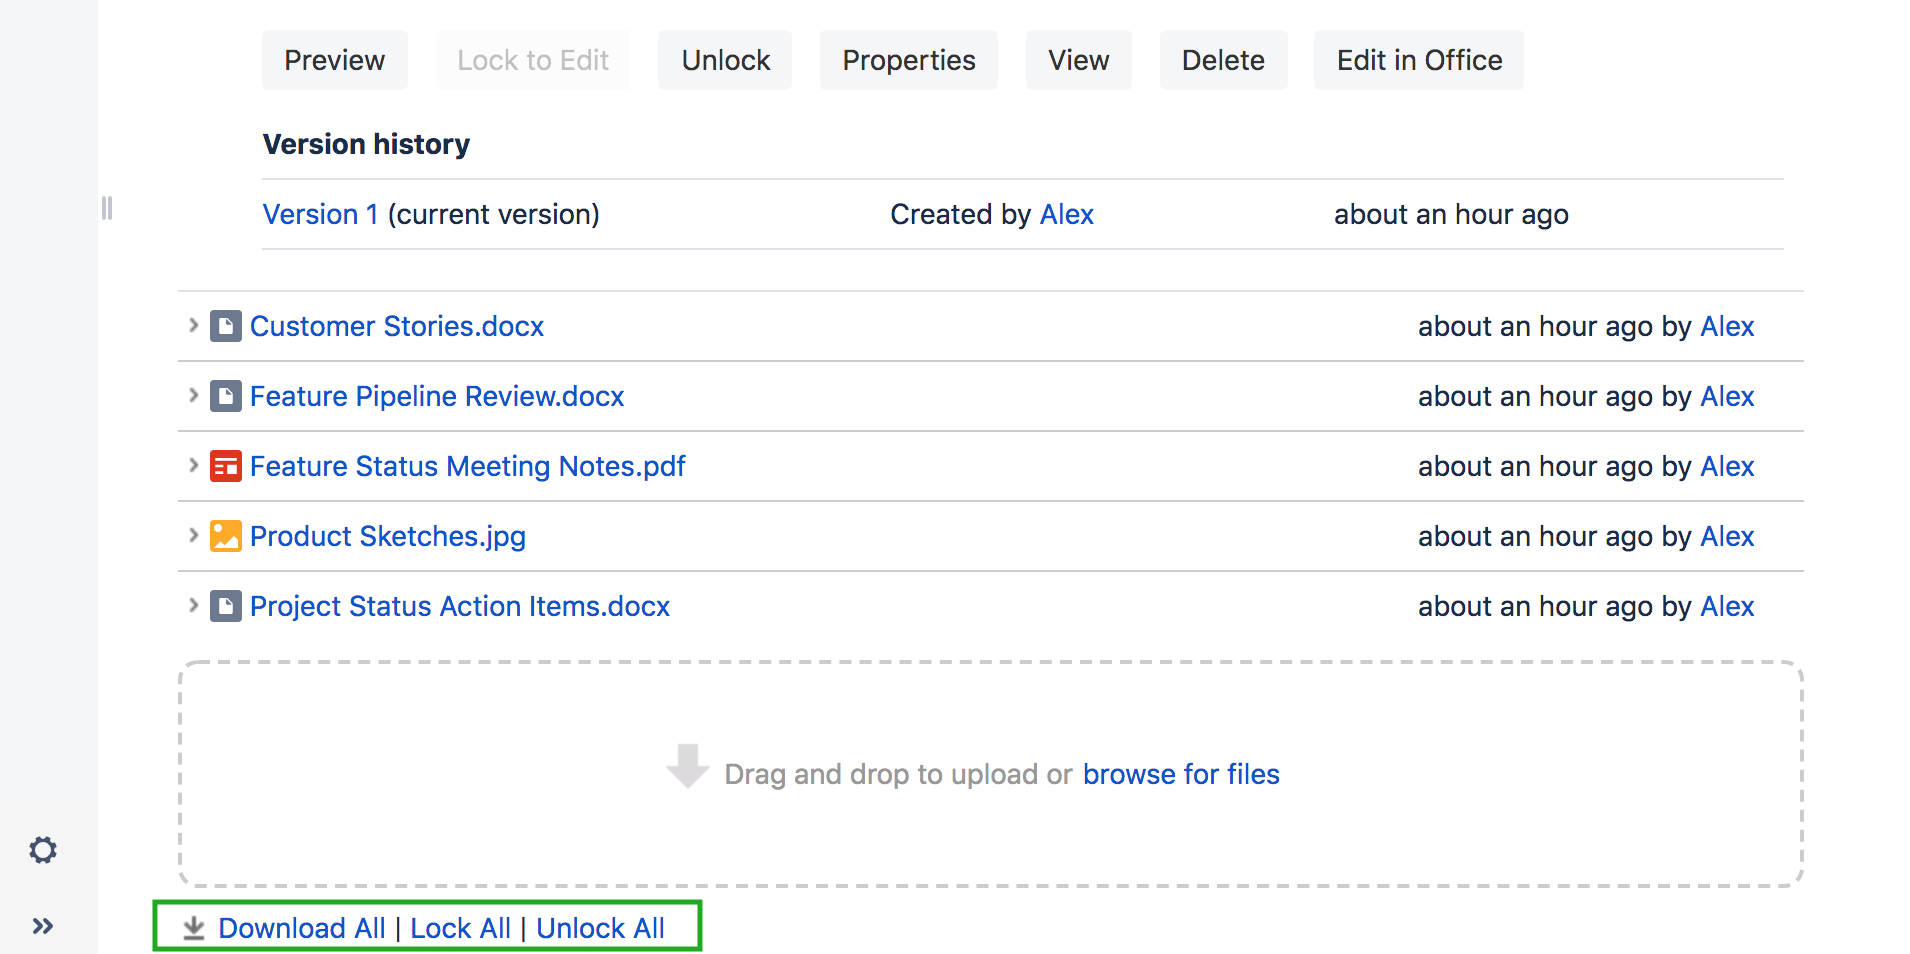
Lockpoint also permits you to mass lock or unlock all attachments listed in an Attachments macro. From the Attachments macro, simply click the Lock All or Unlock All links at the bottom of the macro. Clicking Lock All will lock all attachments that are not already locked by you (and which are not locked by other users).
Similarly, clicking Unlock All will unlock all attachments in the macro that are locked by the current user. To unlock an attachment that is currently locked by another user, you must have Lockpoint Administrator privileges, and you muse use the Force Unlock button on each file individually, or else go to Space Tools » Cenote Lockpoint » Locked Files to unlock multiple attachments at the same time.
The locking and unlocking performed by Lock All and Unlock All is constrained to the list of files shown in the relevant Attachments macro. For example, if a macro is configured to display only those files that have a specific label, only those files will be locked or unlocked.
Using Drag and Drop
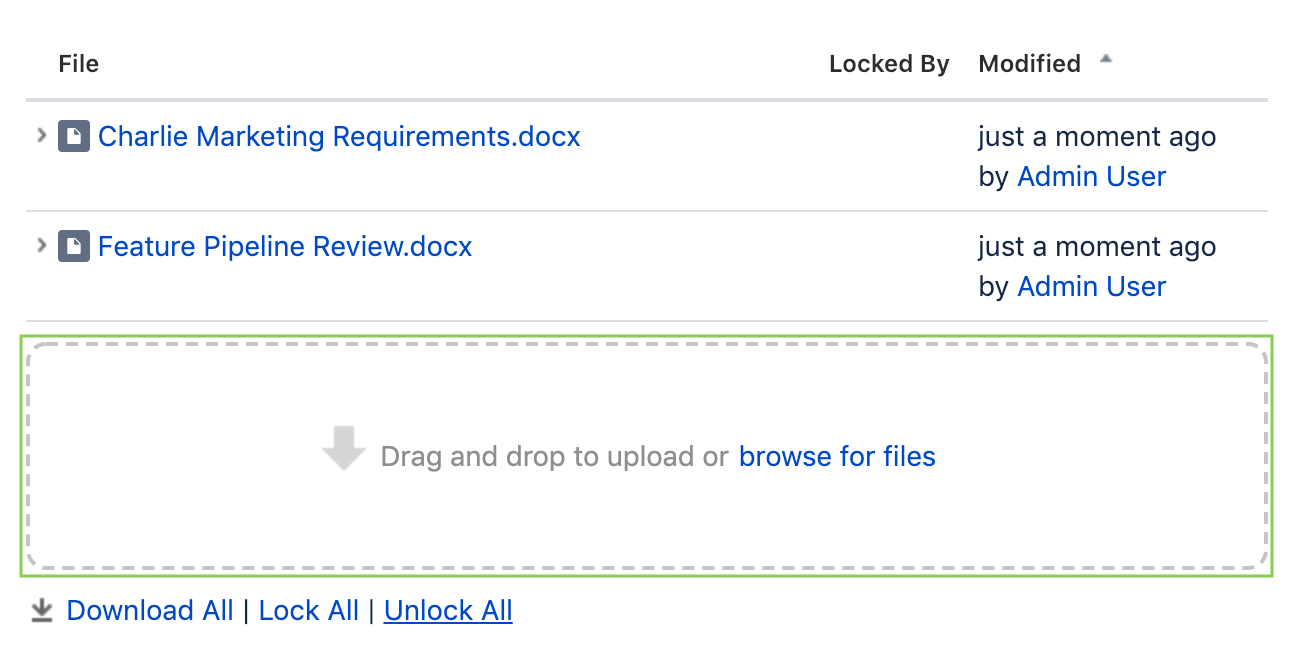
Attachments can also be uploaded (or modified) through Confluence's drag-and-drop functionality. The Attachments macro has a drag-and-drop zone, as does the Attachments page, the Confluence Editor, and more. To upload an attachment using drag-and-drop, simply drag the file to the container, just as in the case where Lockpoint is not installed.
If the user tries to drag-and-drop an attachment that already exists on the page, or if the user tries to access an attachment that is already locked by another user, the user will receive an appropriate error message. (Due to a bug in the underlying Drag and Drop plugin, this error notification may display only a generic error message when used with Internet Explorer.)
To update an attachment that already exists on the page, click Lock to Edit, drag-and-drop the attachment, and click Unlock. Alternatively, to avoid these extra lock and unlock steps, ask your Confluence administrator to enable Smart Automatic Locking.
The drag-and-drop container is used in the following places:
- Page » Tools » Attachments
- the Attachments macro
- the Confluence Editor, using the Image button or the + » Insert Attachment and + » Insert Image features
Due to a bug in Confluence (CONFSERVER-21709), if a user is in the editor and attempts to upload a file already locked by someone else, the user may receive an irrelevant download prompt rather than a user-readable error message. This occurs primarily (although not exclusively) when using Internet Explorer. This is only a user interface issue and the old attachment will be properly preserved.
Viewing Lock Information on Space Attachments Page
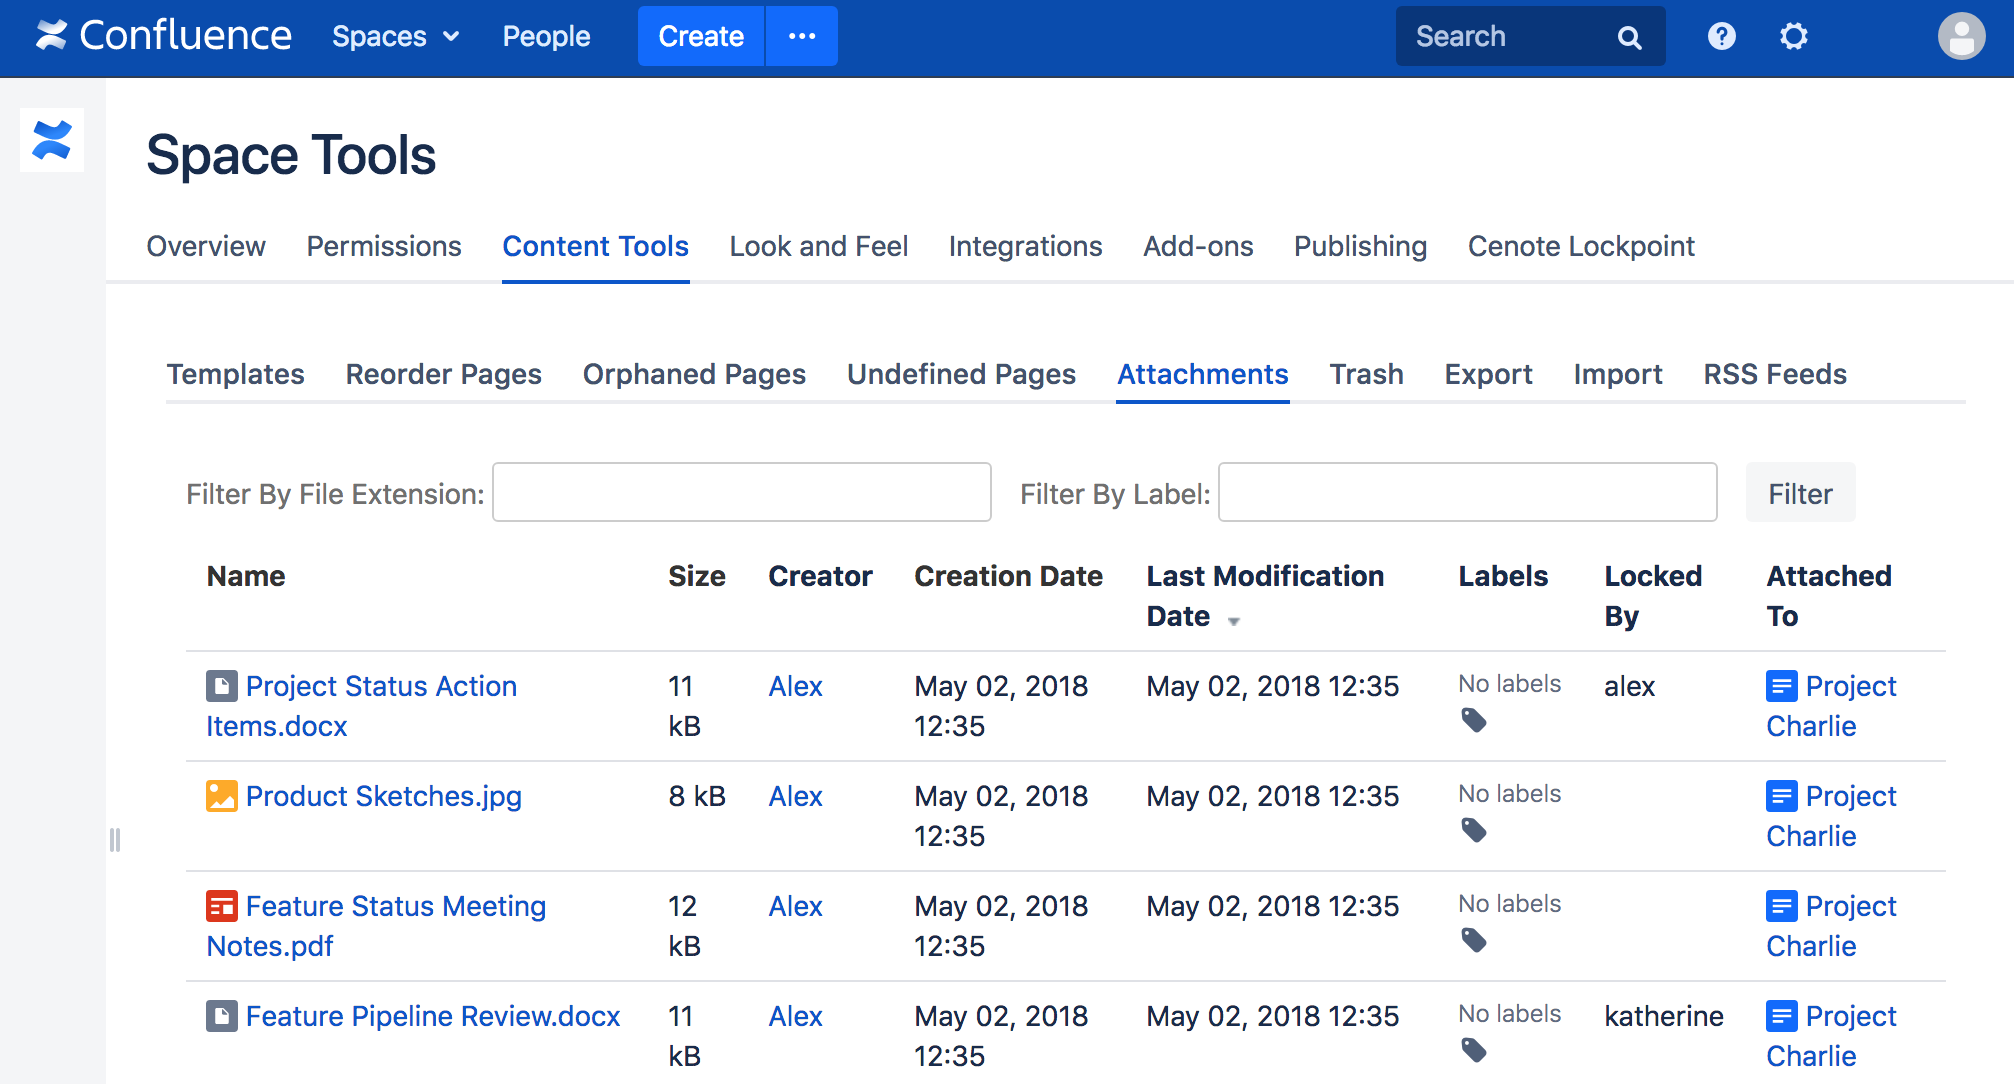
The standard Confluence attachments page at Space Tools » Content Tools » Attachments also displays a list of all attachments in a space. With Lockpoint installed, a new column is shown, Locked By, which lists the user (if any) who has locked a particular attachment.
Confluence Attachment Previewer
Confluence's attachment previewer allows users to view, upload, download, and comment on the attachments associated with a page.
Lockpoint is directly integrated with the previewer, so users can easily launch Edit in App or Edit in Office, see the lock status of attachments, and manually lock or unlock attachments.
To access the Confluence previewer, click on the Preview button within the Attachments macro, or click on the thumbnail of an image or Office document from a Confluence page. You can also expand the list of attachments from within the Attachments macro and click an image to enable the previewer.
About Lockpoint in the Previewer
When Lockpoint is enabled, a new Lock button is displayed in the actions toolbar, and the Upload button will be greyed out for unlocked attachments (or those locked by other users). The Edit with dropdown (for Confluence 6.11+) and Edit in Office options (for Confluence 6.10 and below, for appropriate file types) are shown where available and are automatically integrated with Lockpoint.
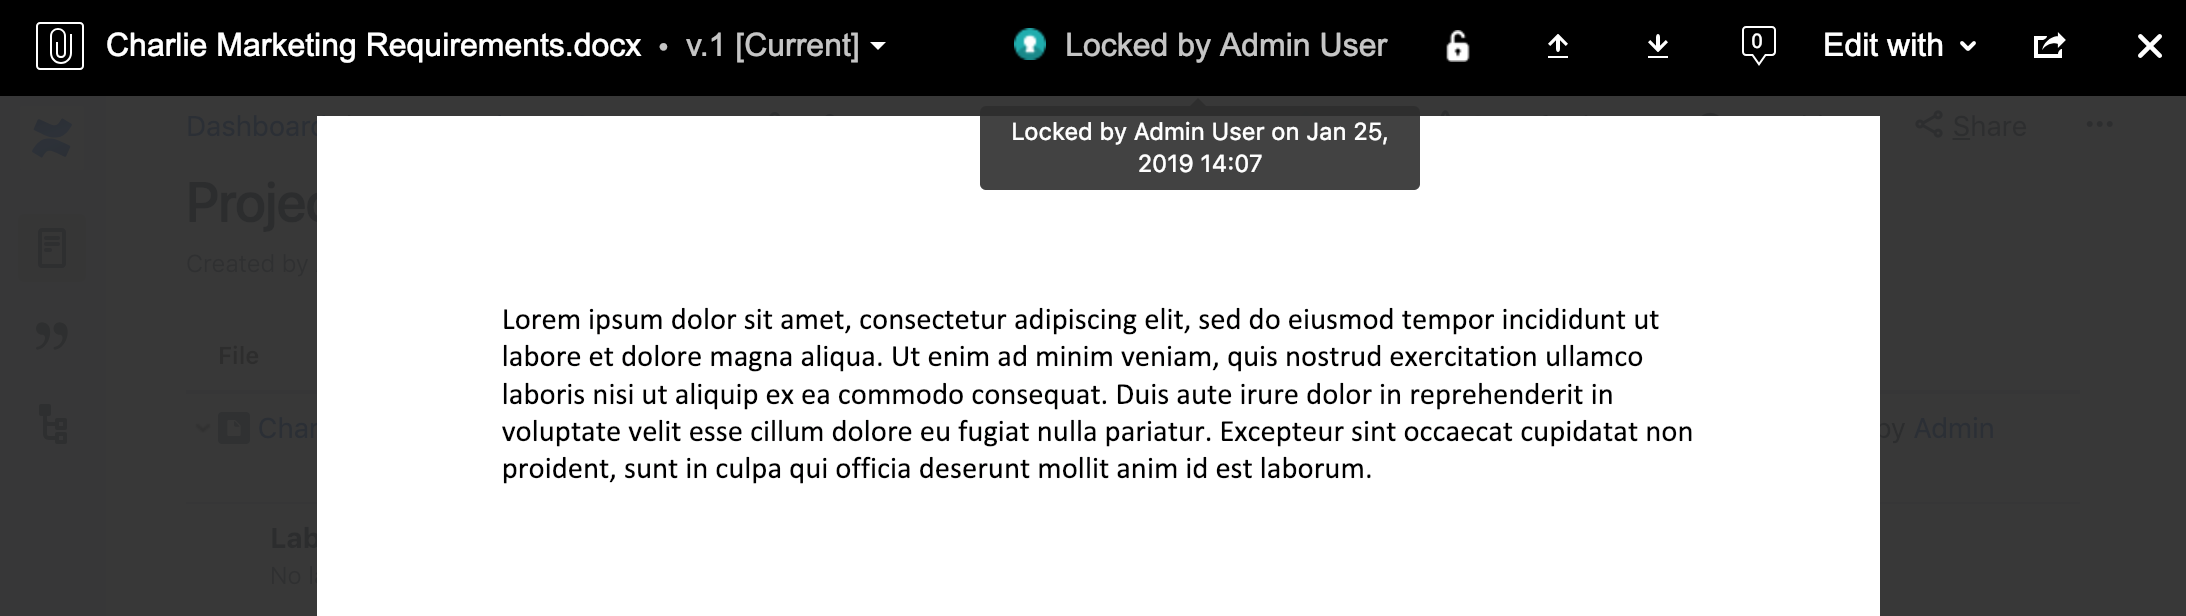
If an attachment is locked, the actions toolbar will also display the status of the attachment, indicate which user performed the lock, show a new Unlock button, and make the Upload button available.
The date and time of an existing lock can be shown in a tooltip by positioning the mouse pointer over the lock status area, as shown below:
The thumbnail browser at the bottom of the previewer can also be used to switch between multiple attachments on the same page, and Lockpoint will automatically show the current lock status of each attachment as you navigate around the page.
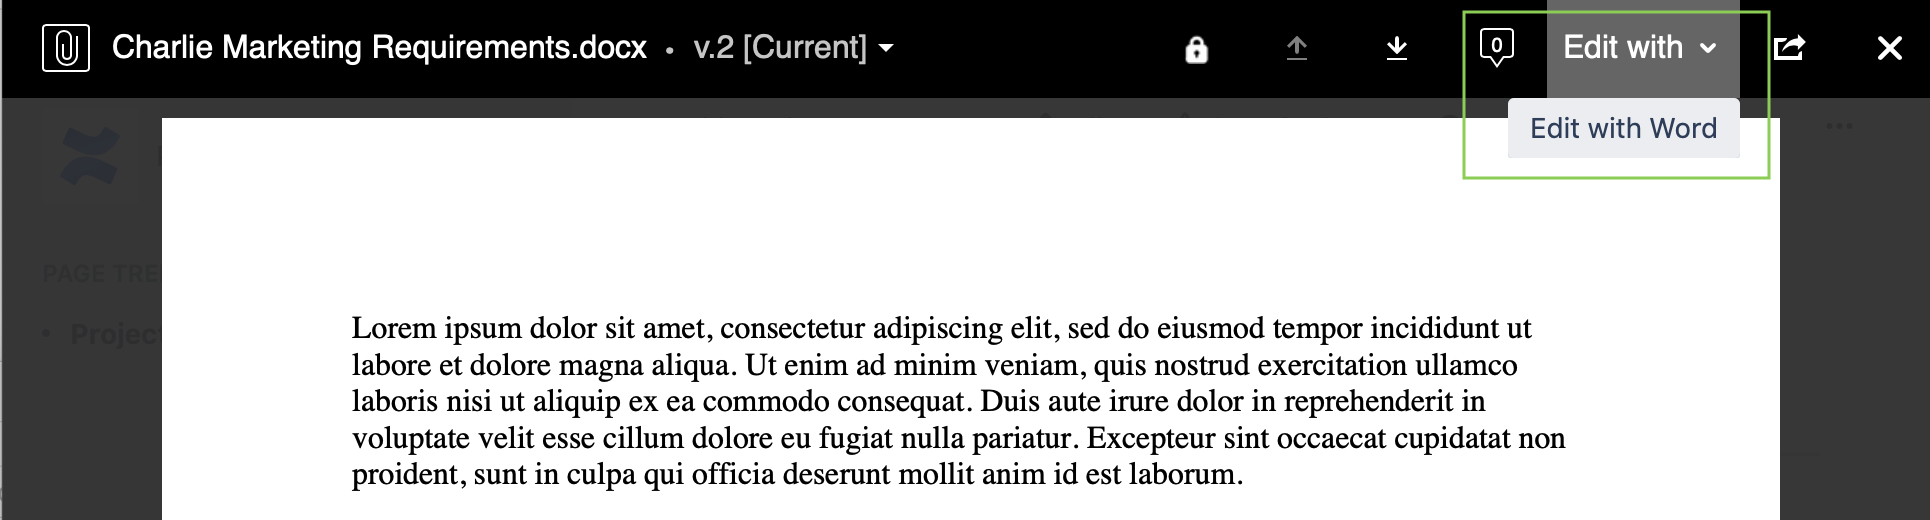
One-Click Edit in App in the Previewer
On Confluence 6.11+, you can edit any attachment by clicking on "Edit with" in the toolbar. The attachment will be automatically locked while it is being edited, and it will be automatically unlocked after the attachment is saved back to Confluence.
Edit in Office in the Previewer
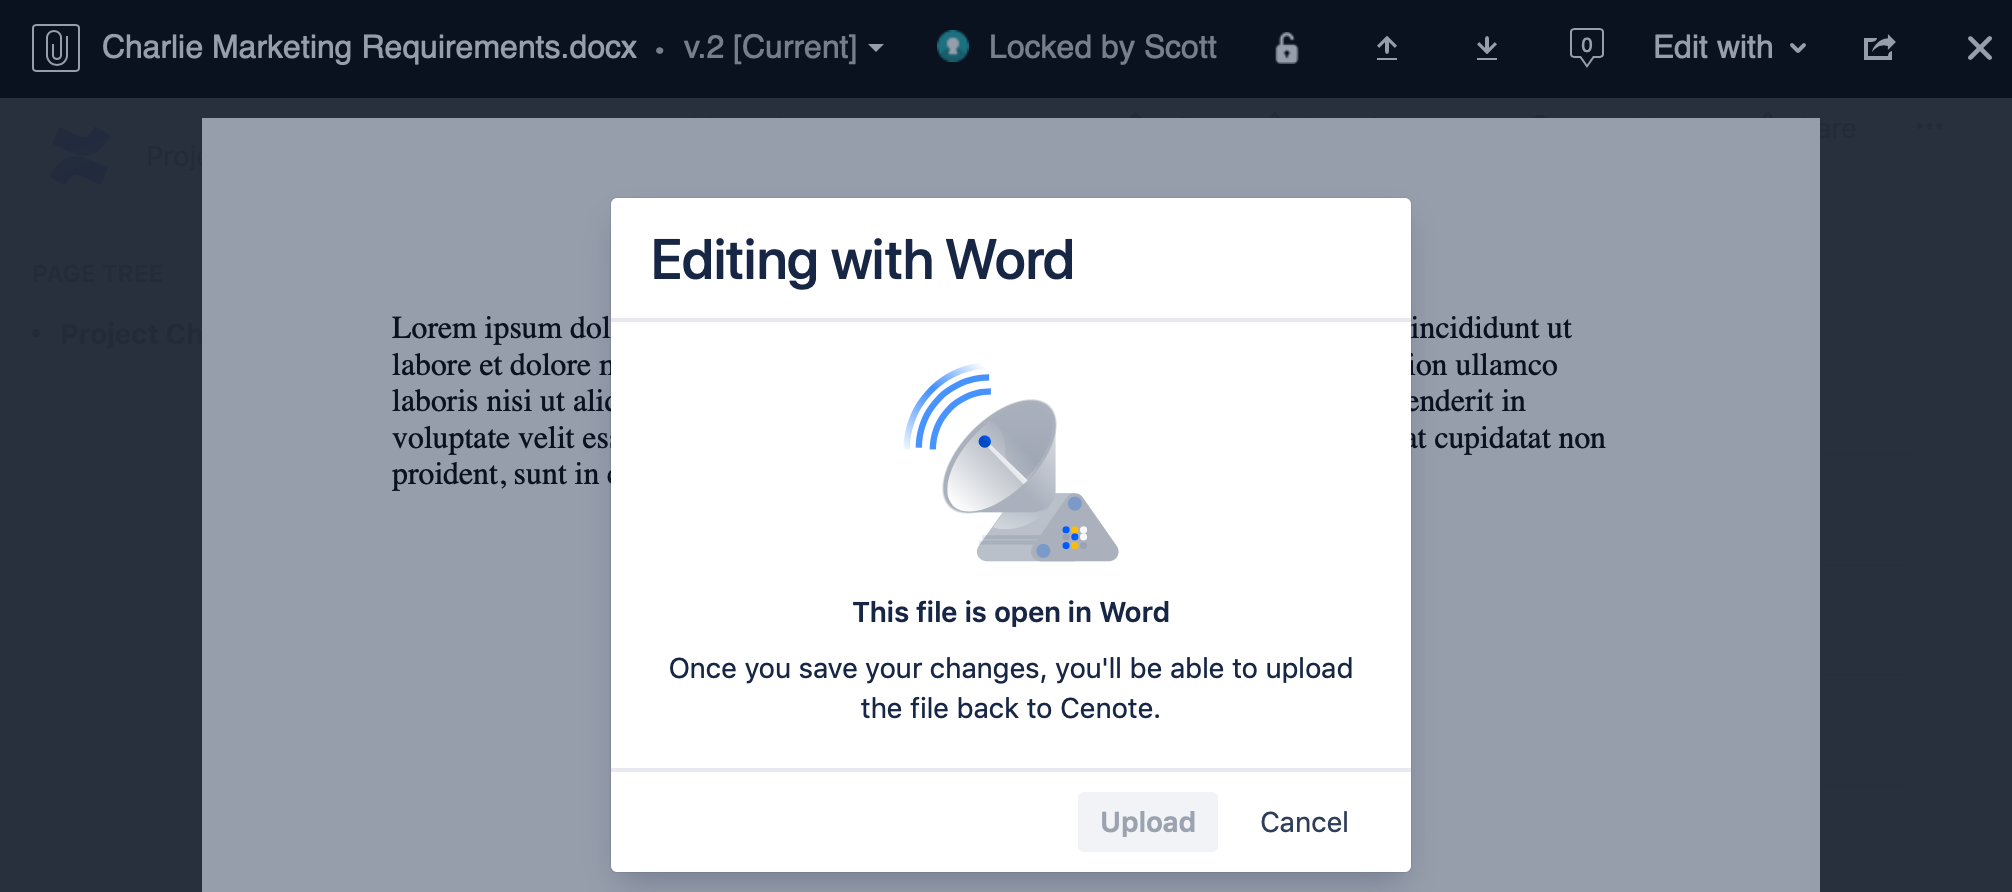
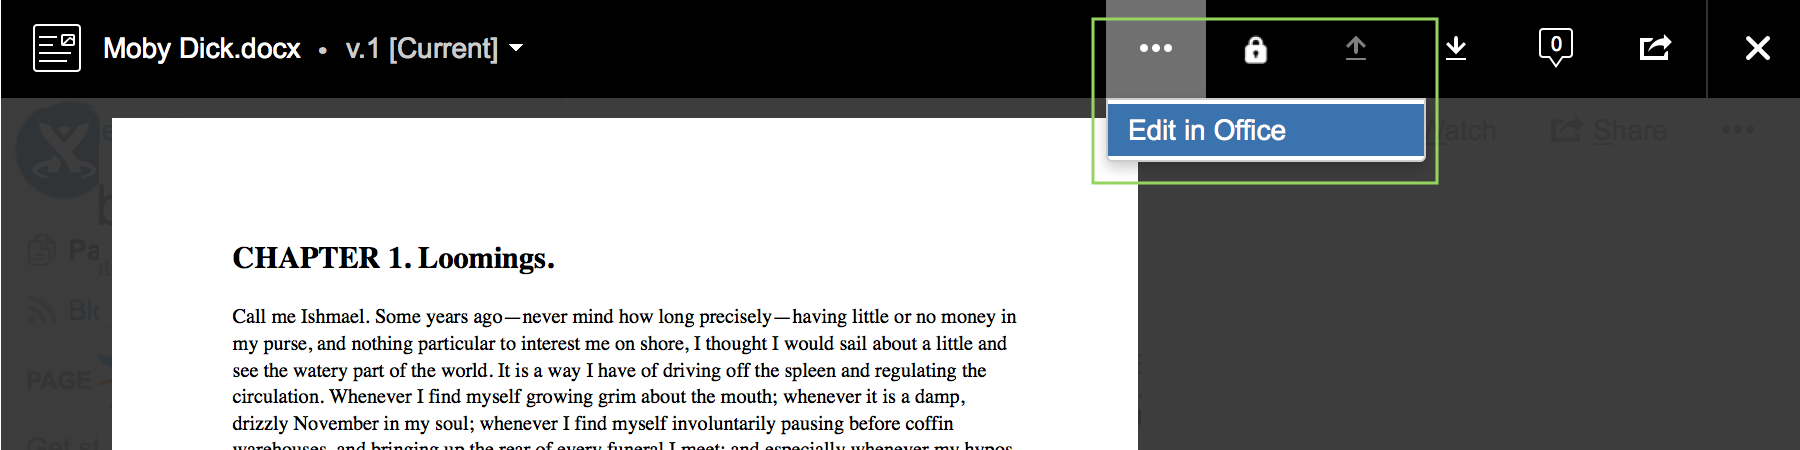
On Confluence 6.10 and below, to edit an Office document using the Edit in Office feature, first select an Office document, click the "..." dropdown, and select Edit in Office. The document will be locked and unlocked automatically and no manual locking or unlocking is required. When viewing Office documents in the previewer, Lockpoint will refresh the lock status regularly, and the previewer will show that the attachment is locked shortly after the Office application launches.
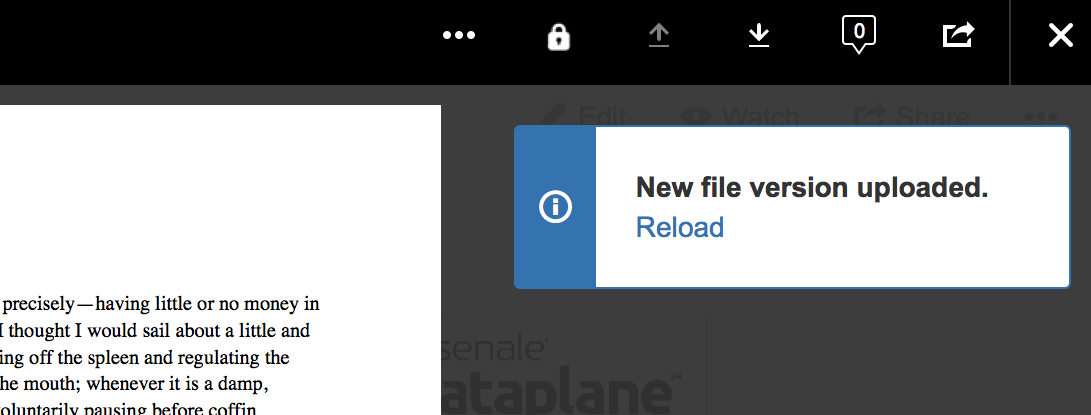
After saving the document in Office, the new version of the attachment will be uploaded to Confluence, the attachment will be automatically unlocked, and you will be prompted to reload the page:
Manually Locking Attachments from the Previewer
To lock an attachment manually from the previewer, click the Lock button:
Once an attachment is locked, you can use the now-activated Upload button to upload a new version of the document, and then click the Unlock button when done.